7 Exterior Paint Prep and Planning Tips You Need to Follow
Everything you need to do before you crack open your paint can.

As far as we’re concerned, good things come to those who plan. Need proof? Just think about painting your home’s exterior. While an eye-catching front door, a trim touch-up, and fresh coat of paint on your siding can give your home some serious curb appeal, the whole process can take weeks depending on your schedule. (Unfortunately, you can’t wake up one morning and decide to paint your home’s exterior.) Though it might be tempting to cut corners, not taking proper precautions might result in having to redo the entire process a few years later. Plus, the right exterior paint prep will keep your paint job looking its best for a long time. To help, we’re sharing all our best exterior paint preparation tips to get the job done like a pro.
1. Plan for Ideal Weather
Though Clare’s exterior paint is built to combat all the elements when dry—snow, rain, mildew, and harsh UV rays, just to name—it needs to be applied in just the right conditions. Extreme climates like heat waves or temperatures below freezing can result in poor paint adhesion. (Speaking of intense temperatures, you never want to paint your metal pipes when it’s hot outside!) While spring and fall are typically the best times of year to paint your home, we recommend selecting a time with historically mild weather. Unless you’re revamping a small shed in your backyard, painting your home’s exterior will take at least a few days to complete, you’ll want to make sure you’re checking your local forecast for consistently mild days.
Of course, there’s more that goes into finding the right time to paint than temperature. Wet paint and moisture—be it high humidity levels or precipitation—do not mix. (Think about it this way: How can your paint dry if you’re applying to a moist surface?) Similarly, windy weather will make your paint dry too quickly, which will result in lat marks or paint that didn’t have time to properly cure. For best results, paint your exterior on a string of mild, dry days. (Read: If you wouldn’t want to spend a couple hours outside with a good book and beverage of your choice, it's not ideal painting conditions.)

2. Clean Your Exterior
Not to be the bearer of bad news, but your home’s exterior is covered in dirt, pollen, and mildew—even when you can’t see it. (That’s what happens when you’re combating the elements daily!) We always recommend painting on a clean dry surface because applying a fresh coat over dirt can result in poor adhesion, an uneven texture or paint that cracks and peels overtime. Blast away grime and grit with a power or pressure washer, which you can typically rent from your go-to hardware store. Need reinforcements? You can pair it with a mild pressure washing detergent for best results. Once you’re done, let your home dry for at least 24 hours before moving onto the next step.
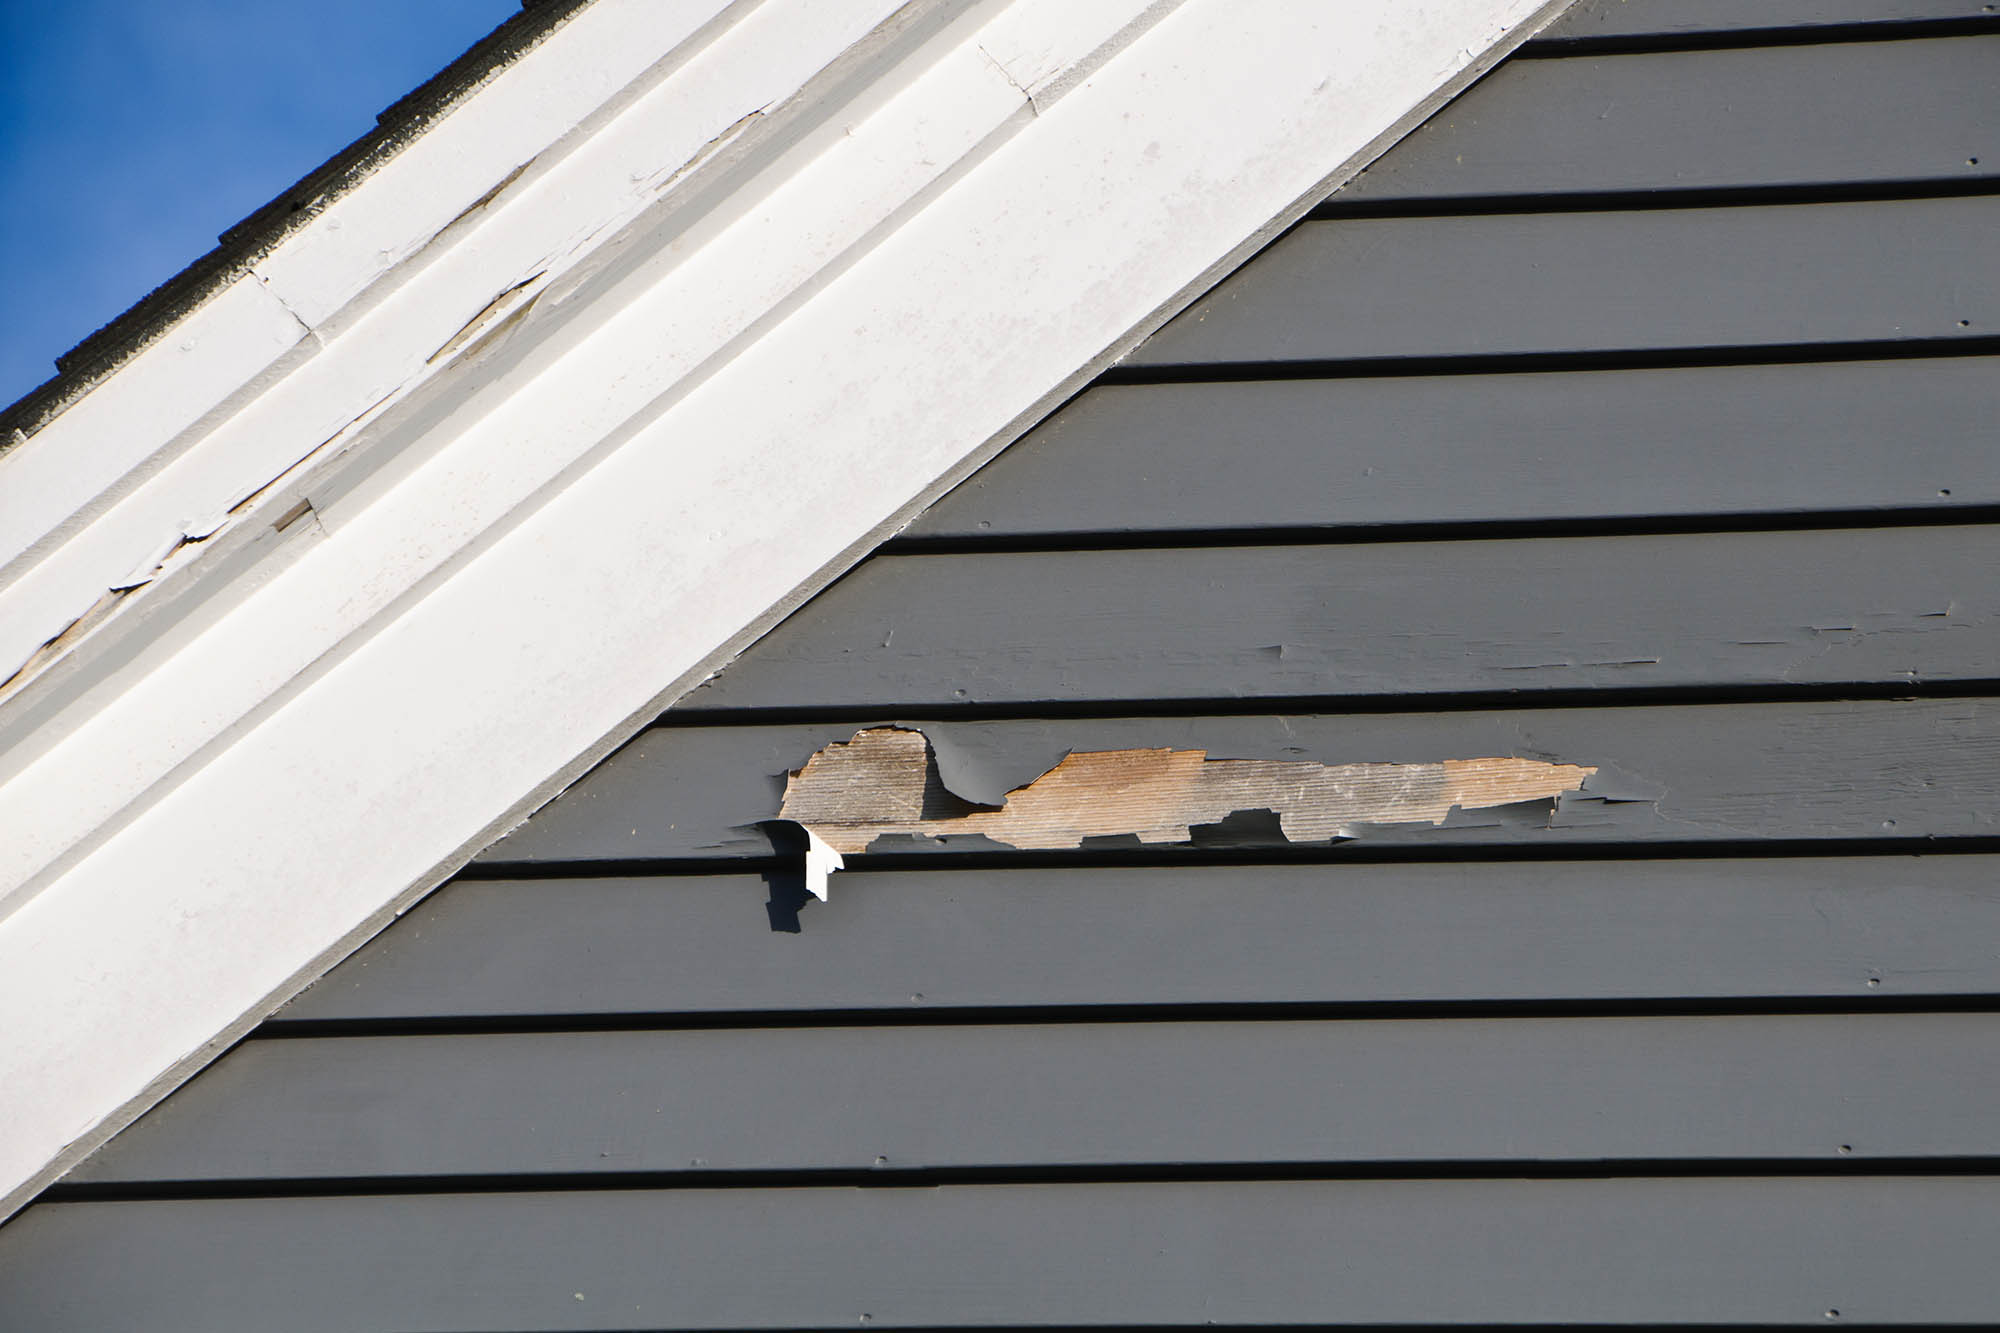
3. Repair Any Damaged Areas
Your home was built to last, but it’s immune to natural wear and tear. Before you apply your primer, take a close look at your exterior surfaces and repair any damaged areas now. While there are plenty of temporary fixes to make your home look like new, you’re basically painting over a bandage that will need to be replaced in a few years’ time. Instead of repeating the entire process all over again, here are a few ways to care for your home now and avoid the extra legwork later:
Replace Rotten Siding: It might be easier to scrape away the rotted area and add some wood filler, but that’s a temporary fix. Our advice? Replace any wooden planks that have a cracked appearance, musty smell, spongy texture, or signs of fungus.
Get Your Caulk On: Or, if your home’s siding has small cracks that aren’t exactly rotten, you’ll want to seal them up with caulk. (That way, you’ll have a smooth, even surface to paint on.) It’s important to invest in a high-quality elastomeric or paintable silicone caulk on the exterior to ensure it can withstand the temperature and moisture exposure of your neck of the woods. (Psst…you’ll also want to select a caulk that is compatible with your exterior’s material.) In a perfect world, caulking would be replaced every few years on your facade because high temperatures and humidity will cause it to pull away from your home’s exterior.
Sand Your Surface: Paint needs something to stick onto, so ultra-smooth or pre-painted surfaces need to be sanded ASAP. By roughing up your home’s exterior, your paint will glide on smoothly and stay there. Grab a slab of sandpaper and rub it against your home’s exterior—a few up or down motions in each area will have you covered. Not sure if your surface needs to be sanded? Grab a water bottle and throw a little H20 on it. If the water beads up and runs off the surface, it needs a good sand session.
5. Calculate How Much Paint You Need
You found the perfect paint color for your siding and trim, but how much of it do you actually need? Don’t sweat it, all you need is a calculator (and a heavy duty tape measure) to figure it out.
- To determine the coverage amount for a single coat, start by multiplying your house’s perimeter by its height, excluding your gables (a.k.a. the triangular piece of siding that’s between the edges of your roof’s pitches).
- If you do have gables, you’ll want to add its surface area to your total coverage amount needed. Multiply the gable’s width by its height and divide that number by two. Keep in mind gables come in different heights, so you should calculate each gable separately.
- Add your perimeter and gables numbers together to get your total square footage amount.
- For a more accurate estimate, subtract the square footage of surfaces you do not plan from your total, which includes surfaces like doors or windows. This will be around 20 square feet on average for every door and 15 square feet for every window.
- If you’re painting your trim or gutters a contrasting color, you’ll need to measure those areas, too. Most trims are six inches wide (a half a foot), so multiply the total length of your trim by 0.5 feet to calculate the square footage of your trim. As for your gutters? Since one foot is almost equal to a square foot, you should buy enough paint to cover the length of your gutters. (Fun fact: Most pros buy one gallon of trim paint for every six to eight gallons used on siding. Follow this general rule to make sure you’re in the right ballpark.)
- Once you have the total square footage of the surface areas you’re painting, divide the total by the square-foot coverage listed on your paint can, and voilà! You’ll have the number of gallons you’ll need to start your project. (FYI, one gallon of Clare’s exterior paint can cover up to 400 square feet and one gallon of our Interior/Exterior Primer covers up to 275 square feet.)
- You’ll want to double this amount for two coats, which we always recommend for the best coverage.
5. Cover Your Grounds
Just because you’re not painting around fancy furniture and home decor doesn’t mean you shouldn’t prep the area around your house. Since nobody wants their front yard to look like an arts and crafts project, it’s important to protect your property’s natural curb appeal by covering grass and hardscaping with a Drop Cloth. If your home is lined with shrubs or bushes, give your greens a trim or tie back the branches with a bit of twine. That way, you’ll be able to squeeze between the plants and give your siding a thorough coat. Also, don’t forget to cover up any pipes or air conditioning units; this can easily be done by covering your exposed areas with newspaper and securing it with tape.
6. Map Out Your Painting Schedule
Rome wasn’t built in a day—and neither was your home’s new paint job. Instead of rushing your paint job, and getting some serious burnout along the way, take your paint job slow and steady. Clare’s exterior paints will be dry to the touch in 1 to 2 hours, but you’ll need to wait 4 to 6 hours providing a second coat. Whether you want to work on another area of your exterior surface while you wait or focus on one part of your home per day is entirely up to you; all you need to do is figure out a timeline that works best for your time and bandwidth. By setting a schedule now, you can make sure the conditions are just right during your entire paint job.
As for what to paint first? We recommend painting those tiny, more tedious details first, so the rest of your paint job will be a breeze. When mapping out which part of your home to tackle when, you should always paint the sides of your home when they’re shaded. Not only does paint dislike hot conditions—including harsh, direct sunlight—but it’ll also be more comfortable for you.

7. When in Doubt, Hire a Professional
Though learning how to paint the exterior of a house is a wonderful, long-term project, beginners might want to save the legwork and enlist a professional. The total will vary based on the size of your home, location, and scope of the project—rates can start at $1,500 and increase by a few thousand dollars— but a professional will likely be able to take on all that exterior paint prep work for you. Plus, you might even save yourself money on tools you’ll only use for your home’s exterior such as a power washer or painter sprayer.
Tags:
We make paint shopping simple with curated colors, zero VOC paint and everything you need to create a home you love, delivered.


